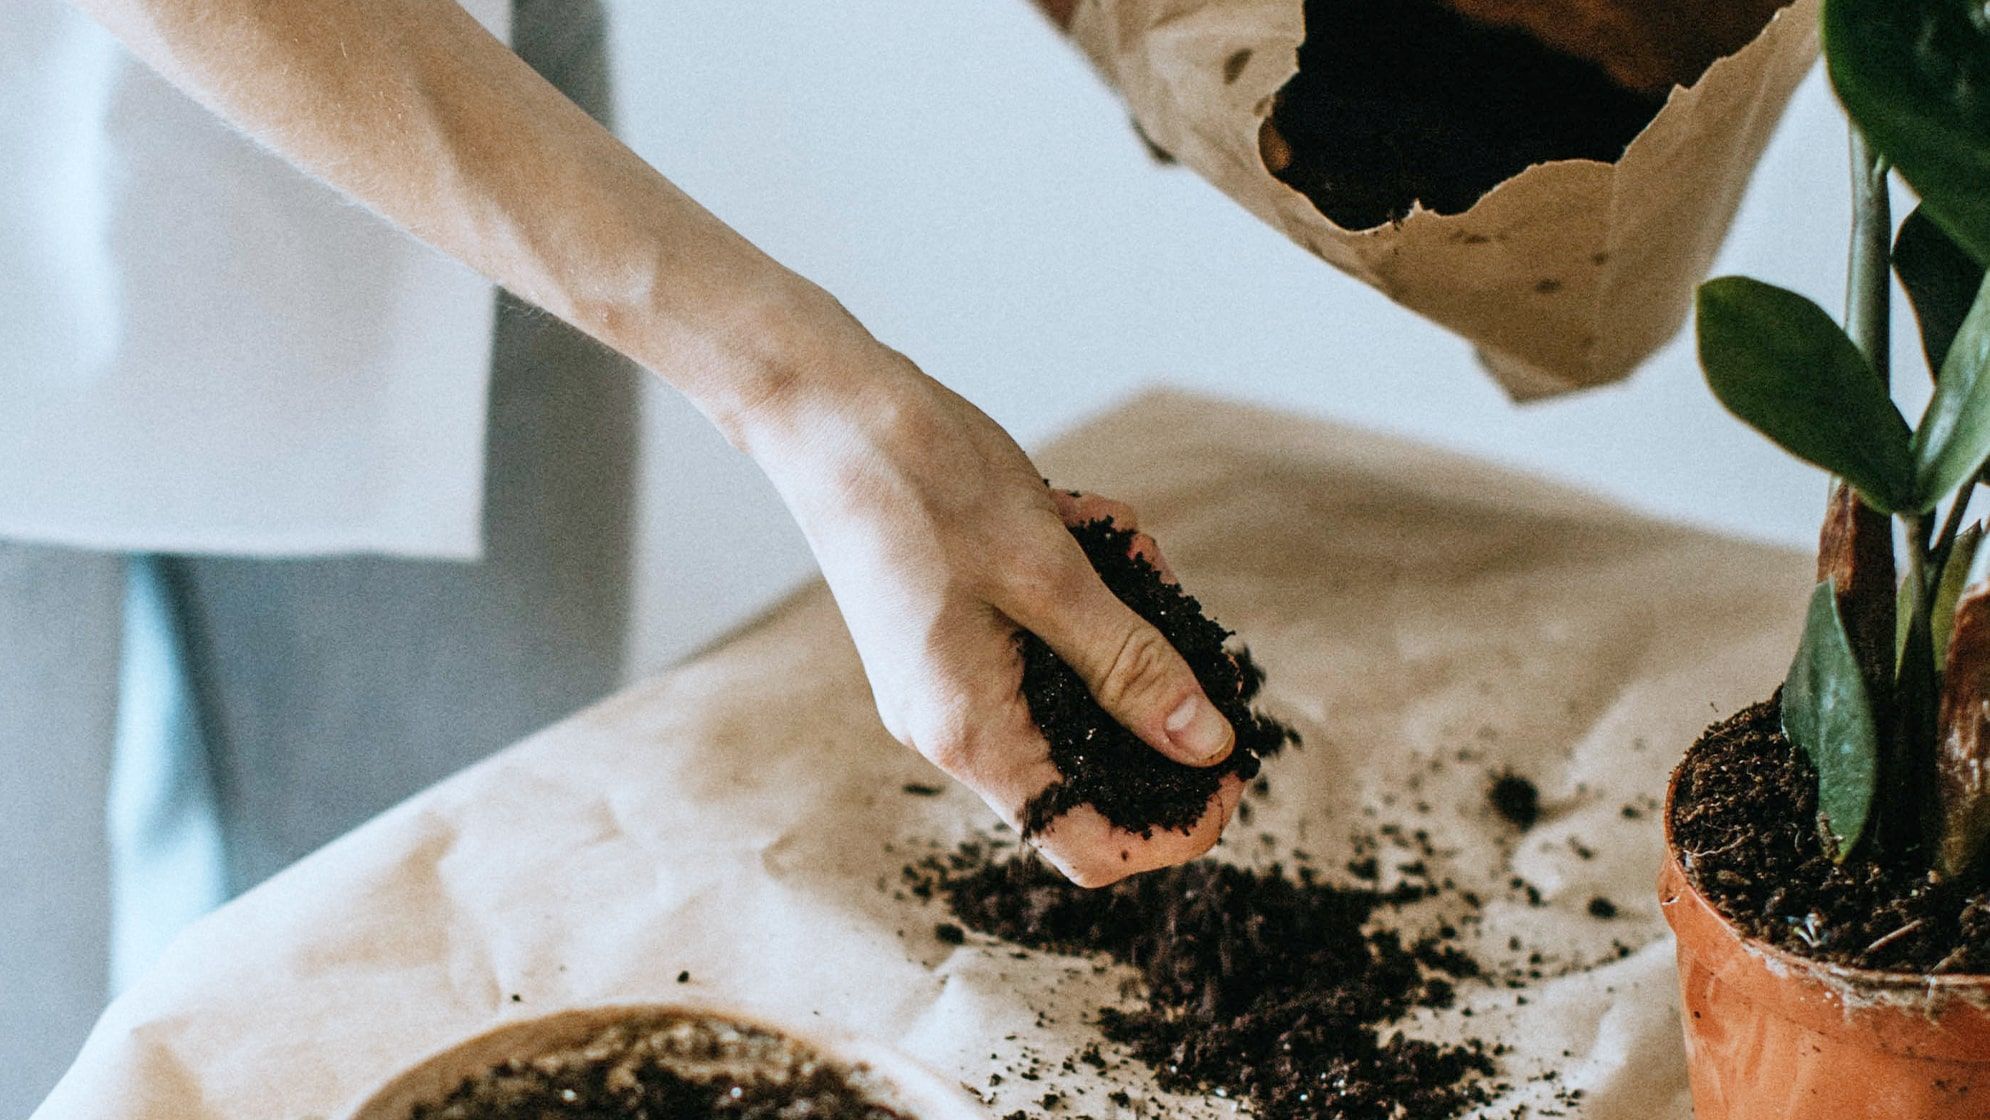
Is your houseplant struggling? Learn exactly when to repot indoor plants signs to look out for, and how to safely give your plant a new home.
When to Repot Indoor Plants Signs: The Ultimate Guide to Upgrading Your Plant’s Home
Look, I get it, plant care can be frustrating but nothing feels quite as intimidating as realizing your favorite leafy roommate has outgrown its home. You see a roots peeking through the bottom of the plastic pot, or maybe your plant has just stopped growing entirely, and suddenly anxiety sets in. Do you need to upgrade the pot immediately? Will repotting cause it to go into shock and die?
First off, let’s take a deep breath. Repotting is not a medical emergency, and it is definitely nothing to feel guilty or stressed about. Think of it less like major surgery and more like buying a fresh pair of sneakers because your old ones are pinching your toes. It is an exciting milestone that means you are doing something right!
Here at LeafCare.xyz, we are all about stripping away the anxiety of indoor gardening. We want to make sure you know exactly what your green companions are trying to tell you. In this comprehensive, expert-led masterclass, we are going to break down the exact when to repot indoor plants signs every plant parent needs to know, followed by a foolproof method to upgrade their space safely.
The Warning Signs: How to Know Your Plant is Rootbound
When plants live in a limited amount of potting mix indoors, their roots eventually run out of space to expand. When this happens, the plant becomes “rootbound,” meaning the roots start wrapping tightly around themselves inside the container, leaving very little room for soil, water, or oxygen.
To help you decode your plant’s behavior, let’s look at the classic indicators that it is time to upgrade.
1. The Great Escape (Roots Growing Out of Drainage Holes)
This is the most obvious, undeniable sign your houseplant can give you. Flip your pot over and look at the bottom. Are there thick, woody roots or fine white root hairs aggressively pushing their way out of the drainage holes? If yes, your plant is practically screaming for more legroom.
2. Water Runs Straight Through the Pot
Have you ever watered your plant, only to see the liquid immediately rush out of the bottom drainage holes within two seconds flat? When a plant is severely rootbound, the dense mass of roots pushes out the actual dirt. Because there is barely any soil left to absorb and hold onto the moisture, the water just slides right past the root ball. Your plant stays completely dehydrated despite your best efforts.
3. Growth Stalls Out Completely
If it is the peak of spring or summer and your plant hasn’t put out a single new leaf in months—despite getting great light and regular feedings—it has likely hit a structural ceiling. Without space for new root tips to form, the top growth of the plant will completely plateau.
4. The Top-Heavy Tipping Routine
If your plant is constantly tipping over on your shelf or windowsill because it has become massively top-heavy, its current nursery pot is simply too small to anchor its weight. Upgrading to a wider, heavier container will stabilize the plant and keep it from crashing down.
Quick-Reference Guide: Urgent vs. Non-Urgent Signs
Not every symptom requires you to run out and buy a massive ceramic pot today. Some indicators mean you should plan a repotting day this weekend, while others mean you can comfortably wait a few months.
| Sign / Symptom | Urgency Level | What It Means | Recommended Action |
| Roots circling the top of the soil | Medium | The root system has used up the lower space and is searching upward for room. | Plan to repot within the next few weeks. |
| Soil dries out completely in 1-2 days | High | There isn’t enough soil mass left to retain moisture for a healthy duration. | Repot soon to avoid chronic under-watering stress. |
| Yellowing lower leaves combined with stunted growth | High | The plant is starving because the roots can no longer absorb nutrients from the depleted dirt. | Check roots immediately and upgrade the container. |
| White crusty buildup on the pot rim | Low | This is just a buildup of salts from tap water and fertilisar, not necessarily a root issue. | Flush the soil with fresh water; repotting can wait. |
Why Timing Matters: The Best Season to Move Your Plants
Here is the real talk: while you can technically repot an indoor plant at any time of the year if it is a true emergency, timing your upgrade correctly makes the entire proccess significantly smoother for your plant.
The absolute best window for repotting is early spring through mid-summer. This is the active growing season when your plants are bursting with energy, pumping out natural hormones, and rapidly creating new cells. If a plant experiences a little bit of root disturbance during a spring repot, its active metabolism allows it to heal wounds and anchor into the fresh soil within days.
Repotting during the dead of winter, when the plant is dormant and resting due to lower natural light levels, is much riskier. The roots will sit inactive in the cold, damp new soil, making them highly susceptible to fungal infections and root rot.
Step-by-Step Guide: How to Repot Your Houseplants Safely
Once you have spotted the classic when to repot indoor plants signs and confirmed your plant needs a larger home, follow this easy, stress-free protocol to make the move.
Step 1: Choose the Right Pot Size Up
The biggest mistake you can make is putting a small plant into a massive giant pot. Too much extra soil holds onto a huge volume of water that the small root system cannot drink up, leading directly to stagnant soil and rot. Always choose a new pot that is only 1 to 2 inches larger in diameter than the current one. If your moving a plant from a 6-inch pot, upgrade to an 8-inch pot. Most importantly, ensure the new container has functional drainage holes!
Step 2: Prep Your Soil Mix
Never use heavy, dense dirt from your outdoor garden for indoor containers. Grab a high-quality, lightweight indoor potting mix. To make it truly elite for your green space at home, mix in a few handfuls of perlite or orchid bark. This creates tiny air pockets in the substrate, ensuring excellent drainage and preventing compaction over time.
Step 3: Gently Evict the Plant
Water your plant a day or two before you plan to repot; slightly damp soil slides out much easier than bone-dry dust. Turn the pot sideways, gently squeeze the sides of the plastic nursery container to loosen the root ball, and slowly slide the plant out. Never pull hard on the main stems, as this can snap the base of the plant right off the roots.
Step 4: Massage and Untangle the Roots
Take a close look at the root ball. If you see roots tightly coiled around the base like a dense bird’s nest, you need to gently break that pattern. Use your fingers to lightly tickle and loosen the outer roots. This encourages them to expand outward into the new fresh dirt rather than continuing to grow in circles.
Step 5: Settle the Plant Into Its New Home
Add a layer of fresh potting mix to the bottom of your new container. Place the plant dead-center on top of that layer. You want the top of the plant’s existing soil line to sit about a half-inch below the rim of the new pot so water doesn’t spill over the edges when you water. Fill in the empty gaps around the sides with your fresh soil mix, pressing down gently with your thumbs to erase any hidden air pockets.
Step 6: The Graduation Hydration
Give your newly housed plant a thorough, deep watering until you see it stream freely out of the bottom drainage holes. This settles the fresh potting mix completely around the roots. Place the plant right back into its original spot with the same light conditions it loves. Avoid fertilizing for at least 4 to 6 weeks, as the tender root tips need time to settle before dealing with heavy nutrients.
Post-Repotting Expectations: Don’t Panic!
It is completely normal for a plant to look a little sad, droopy, or slightly wilted for the first few days after a transition. This is just temporary transplant shock. The roots are adapting to their new environment and learning how to draw moisture from the fresh substrate. Keep its environment stable, don’t move it around the room, and let it rest. Within a week, it will perk right back up and start anchoring itself for future growth.
Keeping a close eye on your collection and recognizing these simple transitions ensures LeafCare.xyz readers maintain the ultimate pristine, thriving environment for their collection.
For more reliable, expert-led indoor gardening strategies, interactive care guides, and professional advice, make LeafCare.xyz your ultimate digital resource. We are dedicated to helping you master every single phase of your plant parenting journey with complete confidence.
Have you noticed any of these when to repot indoor plants signs on your favorite plants recently? Which of your green roommates is ready for a bigger home? Let us know your thoughts or drop your specific plant questions in the comments below! If you want to stay ahead of future care milestones, don’t forget to bookmark this page and subscribe to our weekly newsletter for fresh, actionable indoor plant tips delivered right to your inbox.
