Ready to upgrade your houseplant’s home? Follow our expert, step by step guide to repotting house plants without causing transplant shock.
Step by Step Guide to Repotting House Plants: Upgrade Your Jungle Like a Pro
Look, I get it, plant care can be frustrating but nothing brings on a wave of pure procrastination quite like realizing your favorite green companion has completely outgrown its pot. You look at the roots twisting out of the bottom drainage holes, look at the bag of dirt sitting in your closet, and think, “Maybe I can just do this next month.” The fear of making a mess on your living room rug or accidentally killing your plant due to transplant shock is completely real.
Here is the real talk: repotting does not have to be a high-stress, chaotic weekend chore. It is actually a beautiful milestone that means your plant is healthy, growing, and thriving under your care. Think of it as upgrading your roommate from a cramped studio apartment to a spacious one-bedroom suite.
Here at LeafCare.xyz, we are all about taking the guesswork out of indoor gardening. This definitive, step by step guide to repotting house plants will give you the exact blueprint you need to refresh your plant’s soil, give its roots room to breathe, and do it all without a single drop of plant parent guilt.
When Should You Actually Repot Your Houseplants?
Before you lay down old newspapers and grab your trowel, you need to make sure your plant is actually ready for a new home. Moving a plant into a larger container before its root system is fully established can lead to stagnant soil, overwatering, and root rot.
As a general rule, you should plan to give your houseplants fresh soil every 12 to 18 months. However, if your plant is showing any of the following signs, it means they need an immediate upgrade:
- Roots are aggressively coiling tightly around the upper surface of the soil or bursting through the bottom drainage holes.
- The plant has become entirely top-heavy and keeps tipping over on your shelf.
- Water rushes straight through the pot in seconds because there is barely any dirt left to absorb the moisture.
- Growth has completely stalled out during the peak spring or summer seasons.
Repotting Prep: Choosing the Right Materials
The secret to a smooth transition lies entirely in your preparation. Using the wrong pot size or cheap, heavy soil can create a highly toxic environment for your plant’s delicate root zone.
To help you choose the best supplies for your specific setup, here is a quick summary of what you need to look out for.
| Material / Component | Best Option | Why It Matters | Avoid This |
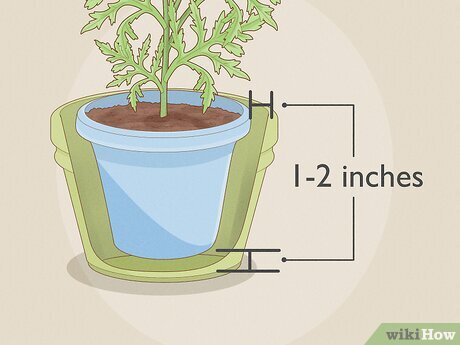
| Pot Size Up | 1 to 2 inches larger in diameter | Prevents waterlogging and allows a gradual, healthy root expansion | Jumping straight to a massive pot |
| Pot Material | Terra cotta or plastic with drainage | Terra cotta breathes well; plastic retains moisture evenly | Containers with no drainage holes |
| Potting Substrate | Chunky, aerated indoor soil mix | Ensures oxygen reaches the roots and water drains rapidly | Heavy, dense outdoor garden soil |
| Soil Additives | Perlite, pumice, or orchid bark | Improves drainage and stops the proccess of soil compaction | Fine sand that clogs air pockets |
The Ultimate Step by Step Guide to Repotting House Plants
Now that you have gathered your materials, it is time to get your hands dirty. Follow this expert-approved, stress-free protocol to repot your plants safely.
Step 1: Hydrate Your Plant a Day Before
Never pull a bone-dry plant out of its container. Dry soil particles cling stubbornly to the root hairs, which means you will end up ripping away vital parts of the root system during the move. Water your houseplant thoroughly 24 to 48 hours before you plan to repot. This ensures the root ball is nice and pliable, allowing it to slide out of the old container effortlessly.
Step 2: Prepare Your Workstation and Fresh Mix
Repotting can get messy, so protect your space. Lay down a specialized tarp, a trash bag, or an old bedsheet on your table or floor. Mix your high-quality indoor potting soil with a few handfuls of perlite or orchid bark in a bucket. Dampen the new soil mix slightly with a little bit of water so it isn’t completely dusty when you work with it.
Step 3: Gently Unpot Your Plant
Turn your plant sideways and gently squeeze the sides of its current plastic nursery pot to loosen the dirt. Hold the main base of the plant gently near the soil line with one hand, and pull the pot away with the other. If the plant is stuck, tap the bottom of the container against a hard surface. Never yank the plant out by its stems, or your liable to snap the foliage right off the roots.
Step 4: Inspect and Massage the Root Ball
Take a good look at what has been hiding under the dirt. Healthy roots should look firm and be white, tan, or yellow. If you notice any black, slimy, foul-smelling roots, trim them away immediately with sanitized scissors. Gently use your fingers to tickle and loosen the outer roots if they are wrapped tightly in a circle. This tells the roots that they are free to grow outward into their new environment.
Step 5: Layer the New Pot and Secure the Plant
Add a fresh layer of your prepped soil mix to the bottom of the new container. Place your plant directly in the center on top of this base layer. Double-check the height: the top of the plant’s old soil line should sit about a half-inch to an inch below the rim of the new pot. This gap is crucial because it keeps water from spilling over the sides every time your watering your jungle.
Step 6: Fill the Gaps and Settle the Soil
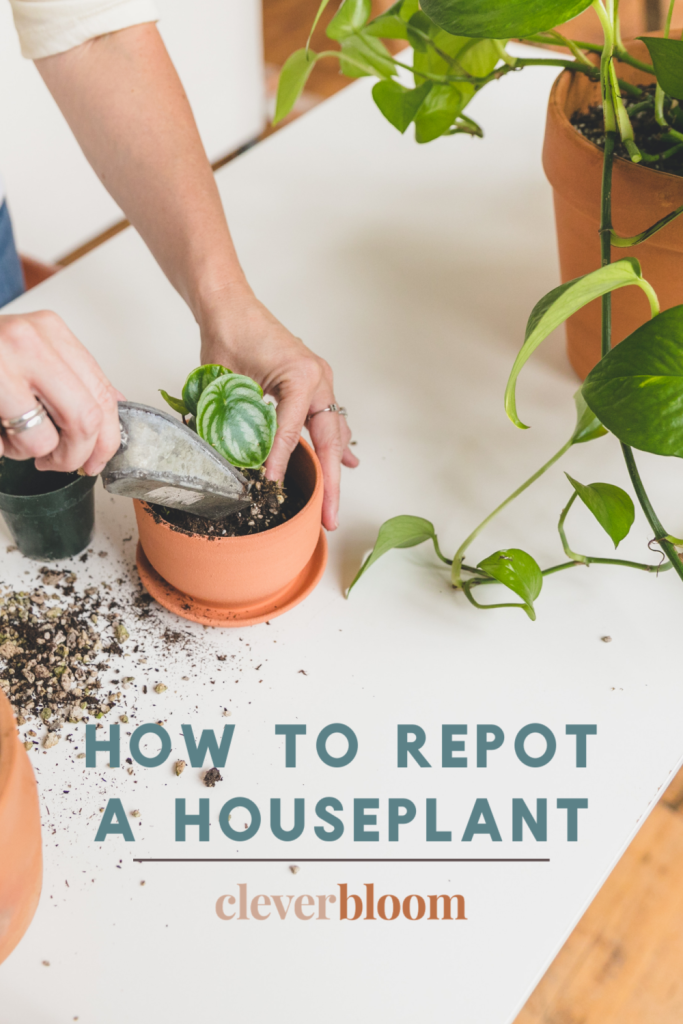
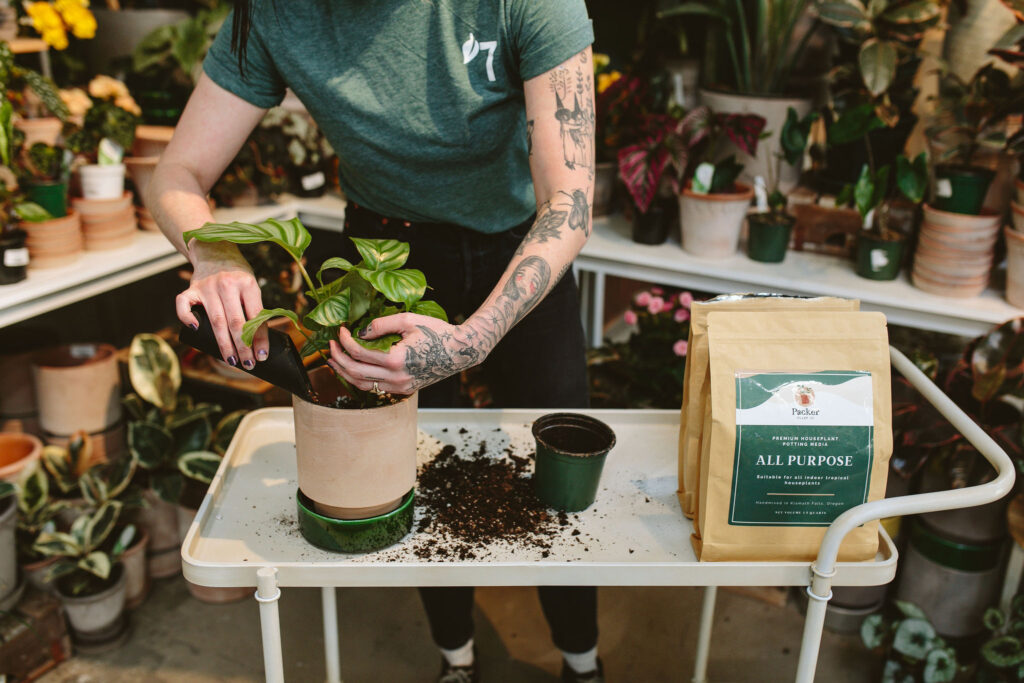
Holding the plant steady with one hand, scoop your fresh potting mix into the empty spaces around the sides of the pot. Use your thumbs or a chopstick to gently press the dirt down. You want the soil to be secure, but don’t pack it down like concrete; roots need oxygen channels to breathe. Tap the bottom of the pot flat against your table a few times to help the dirt settle into any hidden air pockets naturally.
Step 7: The Celebration Soak
Give your newly housed plant a deep, luxurious drink of lukewarm water until it runs completely out of the bottom drainage holes. This initial watering anchors the roots into the new substrate and locks the moisture levels together. Place the plant right back into its favorite location with the exact same lighting conditions it is used to.
Essential Post-Repotting Aftercare Instructions
Once the job is done, your houseplant needs a little bit of time to recover from the move. Here is the real talk: do not treat your newly repotted plant like an invincible superhero.
For the first two weeks, your plant might look slightly droopy or drop a lower leaf. Don’t panic! This is just standard transplant shock as the root tips adjust to the new chemistry of the fresh dirt. Keep its environment completely stable. Do not move it to a different room, protect it from harsh drafts, and absolutely avoid adding any heavy chemical fertilisar for at least four to six weeks. Fresh potting soil already contains a gentle blend of nutrients, and adding more can fry the tender, healing roots.
By being mindful of these basic boundaries, LeafCare.xyz readers can easily minimize recovery times and keep their indoor spaces looking flawless year-round.
Grow Your Thriving Green Space at Home
Mastering the step by step guide to repotting house plants is one of the most rewarding milestones you can reach as an indoor gardener. It transitions you from someone who is just trying to keep a plant alive to a proactive caretaker who understands how to fuel long-term botanical success. The more you practice, the more intuitive it becomes. Soon, you will be repotting your collection with total ease and absolute confidence.
For more reliable, expert-led indoor gardening strategies, interactive care guides, and professional advice, make LeafCare.xyz your ultimate digital resource. We are completely dedicated to helping you navigate every single node, leaf pattern, and repotting milestone with ease.
Which of your houseplants is currently begging for a larger pot? Are you planning to try our foolproof step-by-step method this weekend? Let us know your experiences or drop your specific plant care questions in the comments below! If you want to keep your indoor jungle thriving, make sure to bookmark this page and subscribe to our weekly newsletter for fresh, actionable indoor gardening tips delivered straight to your inbox.
