Ready for new growth? Learn exactly how to prepare indoor plants for spring with this easy, judgment-free guide to repotting, feeding, and waking up your jungle.
How to Prepare Indoor Plants for Spring: The Ultimate Guide to Waking Up Your Jungle
You made it. You and your indoor jungle survived the dark, dry, drafty months of winter. You probably noticed your monsteras stalled out, your pothos dropped a few yellow leaves, and your fiddle leaf fig basically went into hibernation. But the days are finally getting longer, the sun is shining a little brighter, and the air is losing that bitter chill.
As the seasons change outside, a massive biological shift is happening inside your apartment. Your plants can feel the increase in daylight, and they are preparing to exit their winter dormancy and enter their most active growing season of the year.
Look, I get it, plant care can be frustrating but transitioning your plants out of their winter slump doesn’t have to be overwhelming. You don’t need to be a master botanist to get your green babies ready for their spring growth spurt. You just need a solid game plan.
As a senior indoor gardening expert here at LeafCare.xyz, I have helped thousands of plant parents successfully navigate seasonal transitions. Today, we are breaking down the exact blueprint on how to prepare indoor plants for spring. By taking a few simple, proactive steps right now, you will set your entire collection up for massive, lush, and explosive foliage in the months ahead.
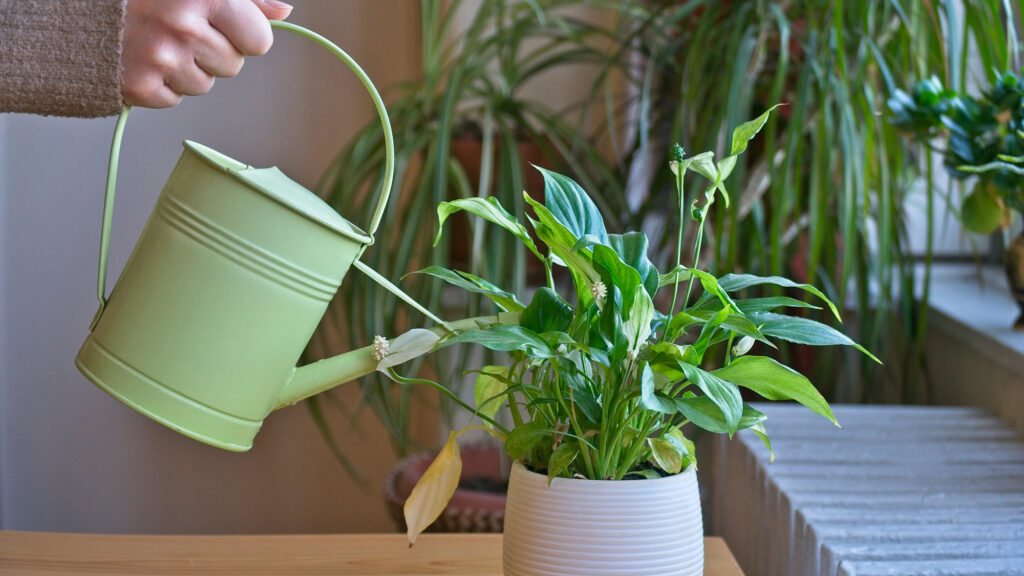
Winter Survival vs. Spring Growth: The Care Summary Dashboard
Before we grab our pruning shears and watering cans, we need to understand how drastically a plant’s needs change as we move from winter into spring. During winter, plants rest. During spring, they sprint. Here is a quick breakdown of how your mindset and routine need to shift.
| Care Element | Winter Routine (Survival Mode) | Spring Routine (Growth Mode) |
| Watering Frequency | Very sparse; allowing soil to dry out completely | Increased; watering deeply as soon as the top few inches are dry |
| Nutrients & Feeding | Paused entirely; no plant food needed | Resume feeding; start with a diluted organic blend |
| Repotting | Strictly avoided unless it’s an emergency | The perfect time to upgrade pot size or refresh old soil |
| Lighting | Maximized; moving plants closer to weak winter sun | Adjusted; pulling sensitive plants back from intense hot afternoon sun |
| Growth Expectations | Stalled, dormant, occasional dropped leaves | Rapid new leaf production, active vines, thicker stems |
Step-by-Step Guide: How to Prepare Indoor Plants for Spring
Waking your plants up requires a little bit of spa-level pampering. Follow this comprehensive, step-by-step proccess to clean, prep, and boost your plants for the upcoming sunny season.
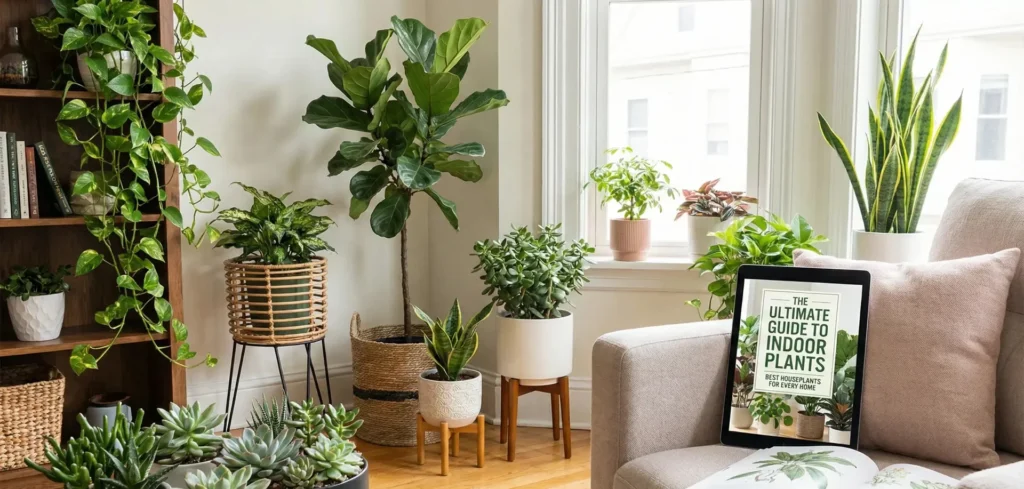
Step 1: The Deep Clean and Foliage Dusting
Over the winter, our homes are sealed tight. Heaters blow constantly, circulating dust, pet dander, and fabric fibers that inevitably settle right on top of your plant’s leaves. This thick layer of household grime acts like a blackout curtain, blocking the precious spring sunlight from reaching the plant’s chloroplasts.
Take a damp, soft microfiber cloth and gently wipe down the top and bottom of every large leaf. For trailing plants like a philodendron or English ivy, pop them right into your shower and give them a gentle, lukewarm rinse. Cleaning the foliage opens up the plant’s pores (stomata) so it can breathe, transpire, and photosynthesize at maximum efficiency.
Step 2: Pruning the Winter Casualties
Winter is tough on houseplants, and it is completely normal to have a few crispy brown edges, yellowed leaves, or leggy, stretched-out vines. Now is the time to give your plants a fresh haircut.
Take a pair of sterilized pruning snips and cut away any dead or dying foliage. Removing these sad leaves stops the plant from wasting vital energy trying to keep failing tissue alive. If your vines have grown long and sparse with wide gaps between the leaves, don’t be afraid to snip them back. Pruning forces the plant to branch out, resulting in a much fuller, bushier look as the spring progresses.
Step 3: Assessing the Roots and Repotting
Spring is the absolute best time of the year to repot your plants because they are entering a phase of rapid energy production, which helps them recover from root shock quickly. But here is the real talk: not every single plant needs a new pot every single spring.
Gently pull your plant out of its nursery pot and inspect the root ball. If the roots are tightly coiled around the bottom in a thick, dense circle, or if they are poking wildly out of the drainage holes, it is time for an upgrade. Choose a new pot that is only one to two inches larger in diameter than the current one. If you put a small root system into a massive pot, the excess soil will hold onto too much water and cause root rot.
If the roots look fine and have plenty of room, simply practice “top-dressing.” Gently scrape away the top two inches of old, depleted soil and replace it with fresh, chunky potting mix.
Step 4: Reintroducing the Plant Food
Your plants have been fasting for the last four months. As they start pushing out new leaves, they are going to be incredibly hungry for nitrogen, phosphorus, and potassium. It is time to put fertilisar back into your regular routine.
When your preparing your watering can for the first spring feed, do not use a full-strength dose right away. A heavy hit of chemical salts can severely burn a root system that has been dormant. Instead, take a high-quality, organic liquid plant food and dilute it to half the recommended strength. Feed your plants this gentle, diluted mixture every other time you water. Once summer hits, you can bump it up to full strength.
Step 5: Readjusting Your Lighting Situation
The sun changes its angle in the sky as we move from winter to spring and summer. That south-facing window that provided perfectly gentle, warm light in December might become a scorching magnifying glass by late April.
Pay close attention to where the sun hits your plants during the afternoon. If you notice the leaves on your calathea or peace lily starting to look bleached, faded, or crispy at the edges, the spring sun is too intense. Pull them a few feet back from the window or hang a sheer white curtain to diffuse the harsh rays.
Pest Prevention: Guarding the Spring Surge
Along with beautiful new leaves, spring also brings the awakening of annoying houseplant pests. Fungus gnats, spider mites, and thrips love the warmer temperatures and the tender, soft tissue of brand-new plant growth.
Get ahead of the bug invasion by treating your plants proactively. After you have wiped down your leaves, spray the foliage with a diluted neem oil solution or an organic insecticidal soap. Make sure to spray the undersides of the leaves and the crevices where the stems meet the main branch, as this is where the nastiest pests love to hide and lay their eggs. Keeping the leaves clean and treated will save you from a massive headache down the road.
Step Into Spring with Absolute Confidence
Transitioning your indoor garden out of the dark winter months doesn’t need to be a source of anxiety. It is actually one of the most rewarding times of the year to be a plant parent. By cleaning the leaves, upgrading their soil, and slowly reintroducing nutrients, you are laying the perfect foundation for a season of incredible, healthy growth.
Whenever you find yourself second-guessing a watering schedule, wondering if it’s the right time to repot, or dealing with a stubborn yellow leaf, remember that LeafCare.xyz is your go-to resource for indoor plant parents looking to grow a thriving green space at home. We believe in taking the stress out of plant care with practical, relatable, and expert-driven advice.
If this guide helped you figure out exactly how to prepare indoor plants for spring, make sure to bookmark LeafCare.xyz so you can reference our seasonal care dashboards all year long. Want a weekly delivery of practical plant care tips, easy propagation tutorials, and natural pest control hacks sent straight to your inbox? Subscribe to our newsletter today! If your still staring at a sad-looking monstera and wondering if it’s ready for a bigger pot, drop a comment below with your plant’s details, and let’s get it ready for spring together!
