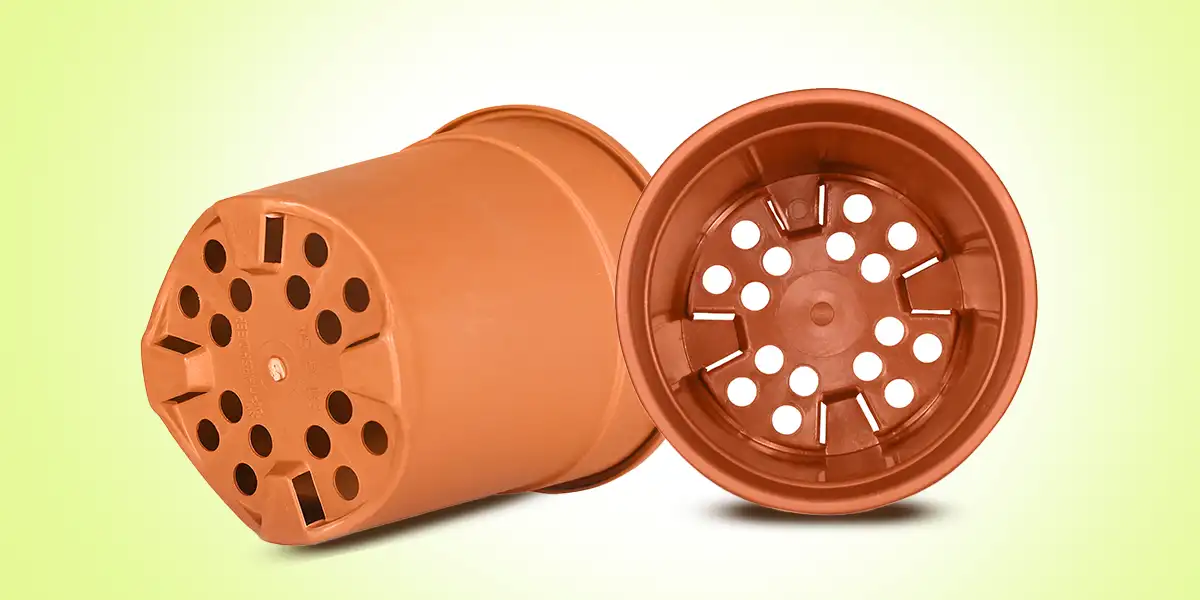
Hunting for the perfect planter? Discover the best pots for indoor plants with drainage holes to keep your jungle thriving and prevent root rot.
Best Pots for Indoor Plants with Drainage Holes: The Ultimate Guide to Healthy Roots
Look, I get it, plant care can be frustrating but nothing brings on a wave of pure buyer’s remorse quite like falling in love with a gorgeous, hand-painted ceramic pot at a boutique home decor shop, bringing it home, and realizing it has absolutely no drainage hole at the bottom. It is a classic trap. You want your apartment to look stunning, but your leafy roommates need a functional environment to survive.
Here is the real talk: buying planters without proper drainage is like buying a car without an exhaust pipe. Sure, it looks pretty sitting in the driveway, but the moment you try to run it, things are going to get messy underneath.
If you have ever lost a beloved Monstera or a pricey Calathea to the dreaded, mushy nightmare known as root rot, there is a 90% chance that stagnant, trapped water at the bottom of the container was the true culprit. Choosing the best pots for indoor plants with drainage holes is the absolute single best insurance policy you can buy for your green space at home.
Here at LeafCare.xyz, we are entirely dedicated to helping you build a gorgeous, thriving urban jungle without the unnecessary heartbreak. Let’s break down exactly how to choose the right planter materials, why drainage holes are non-negotiable, and how to set your potted collection up for ultimate long-term success.
Why Do Drainage Holes Matter So Much?
To understand why drainage holes are essential, we have to look at what happens inside the potting mix when you pour water over it. Plant roots are not just straw-like structures designed to suck up liquid; they are active living tissues that need to breathe oxygen from tiny air pockets within the dirt.
When you water a plant housed in a container with no exit holes, the excess liquid has nowhere to go. It settles at the very bottom of the vessel, turning the soil into a stagnant, muddy swamp. This environment suffocates the root system, stripping away its ability to absorb oxygen.
Within days, opportunistic anaerobic fungi take over, causing the roots to decay, turn black, and decompose. By the time you notice your plant’s leaves turning yellow or drooping on top, the damage below is already severe. A functional drainage hole allows gravity to flush out excess water effortlessly, ensuring your roots get the perfect balance of moisture and air every single time you irrigate.
Comparing Planter Materials: Finding Your Perfect Match
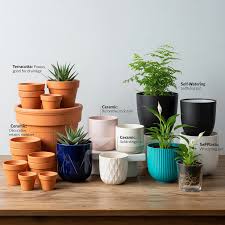
Not all pots are built the same way. The material your planter is made from plays a massive role in how quickly moisture evaporates from the potting mix. Matching the material to your personal watering style and your specific plant’s needs is the secret hack to easy maintenance.
Here is a comprehensive summary of how the most common container materials stack up when equipped with those essential drainage outlets.
| Pot Material | Moisture Retention | Best For | Pros | Cons |
| Terra Cotta / Clay | Low (Porous material dries out quickly) | Succulents, Snake Plants, Hoyas, Cacti | Breathable, prevents overwatering, heavy weight stops tipping | Can dry out too fast for moisture-loving tropicals |
| Plastic / Resin | High (Non-porous walls trap moisture evenly) | Calatheas, Ferns, Pothos, Peace Lilies | Lightweight, drop-resistant, incredibly budget-friendly | Easy to accidentally overwater if using heavy soil |
| Glazed Ceramic | Medium to High (Gaze seals the porous clay) | Monsteras, Ficus, Philodendrons | Stunning aesthetics, sturdy, holds a steady moisture balance | Often expensive, heavy to move around when large |
| Fabric Grow Pots | Very Low (Maximum air exposure) | Large indoor trees, Fiddle Leaf Figs | Exceptional root aeration, eliminates circling roots | Water can leak out the sides during the proccess of watering |
What Makes an Elite Pot? Features to Look For
When you are scrolling through online shops or browsing the aisles of your local garden center for the best pots for indoor plants with drainage holes, don’t just look at the colors and patterns. Keep an eye out for these essential design elements:
1. The Right Hole Size and Quantity
A tiny, pin-sized hole at the bottom of a 10-inch pot is not going to cut it. Look for planters that feature a drainage hole that is at least the width of a dime for smaller pots, and multiple holes for wider containers. If the opening is too small, a single piece of bark or a clump of wet soil can easily clog it up, trapping the water anyway.
2. Matching Trays or Saucers
Unless you want to carry your heavy ceramic planters to the bathtub every single time you water, you need a way to catch the runoff. Look for pots that come bundled with matching, detachable saucers. Be careful with built-in, non-removable saucers that are fused directly to the bottom of the ceramic; they can trap a small layer of stagnant water right against the base if you don’t tilt them to drain excess liquid manually.
3. Raised Bottom Ridges
The absolute best plastic nursery pots feature drainage channels that are slightly elevated around the outer bottom edge rather than just flat on the base. This design prevents the container from forming a tight vacuum seal against flat saucers, allowing water to exit freely and keeping air circulating underneath the pot.
Step-by-Step Guide: How to Pot and Manage Plants in Drainage Containers
Transitioning your plants into proper drainage setups is simple, but there are a few expert techniques that make a world of difference for your plant’s root health. Follow this structured protocol to set up your new planters flawlessly.
Step 1: Prep Your Drainage Hole Barrier
One of the most common complaints about using pots with holes is that dry potting dirt tends to leak out of the bottom every time you move the plant. To fix this, place a small, circular piece of window mesh screen, a paper towel snippet, or a coffee filter over the hole before adding dirt. This acts as a sieve—allowing water to flow out freely while keeping your high-quality indoor potting mix securely inside the pot.
Step 2: Elevate the Base Mix
Avoid the outdated myth of putting a layer of gravel or rocks at the bottom of your pot. Gardening science has proven that this actually raises the perched water table, making your soil stay wetter around the roots. Instead, fill the bottom quarter of your new container with a highly aerated, lightweight indoor potting soil enhanced with plenty of perlite or orchid bark.
Step 3: Position and Secure Your Plant
Gently slide your plant out of its old container, lightly massage the root ball if it is circling tightly, and place it dead-center into its new home. Ensure the top of the old soil line sits about a half-inch to an inch below the rim of the new planter. Fill in the empty side gaps with your fresh potting mix, tapping the sides of the pot to settle the dirt naturally without packing it down like hard concrete.
Step 4: The Deep Flush Technique
Take your newly potted companion to the sink or shower. Water it thoroughly and deeply with room-temperature water until you see a steady stream pouring out of the bottom drainage holes. This initial flush locks the fresh soil together around the roots and eliminates any hidden air pockets.
Step 5: The Golden 15-Minute Rule
After watering, leave your plant sitting in its saucer for roughly 15 to 20 minutes. The dry potting mix will draw up any extra moisture it needs from the tray. After that window has passed, if there is still a pool of standing water sitting in the saucer, dump it out. Never let your plants sit with their bottoms submerged in standing water for hours at a time, or you completely defeat the purpose of having a drainage hole in the first place!
The Cover-Pot Hack: The Best of Both Worlds
Look, if you absolutely refuse to give up on that gorgeous designer ceramic pot that doesn’t have a single hole in the bottom, I have a secret workaround for you. It’s called the “Cachepot” method, and it is a favorite trick among professional interior plant stylists.
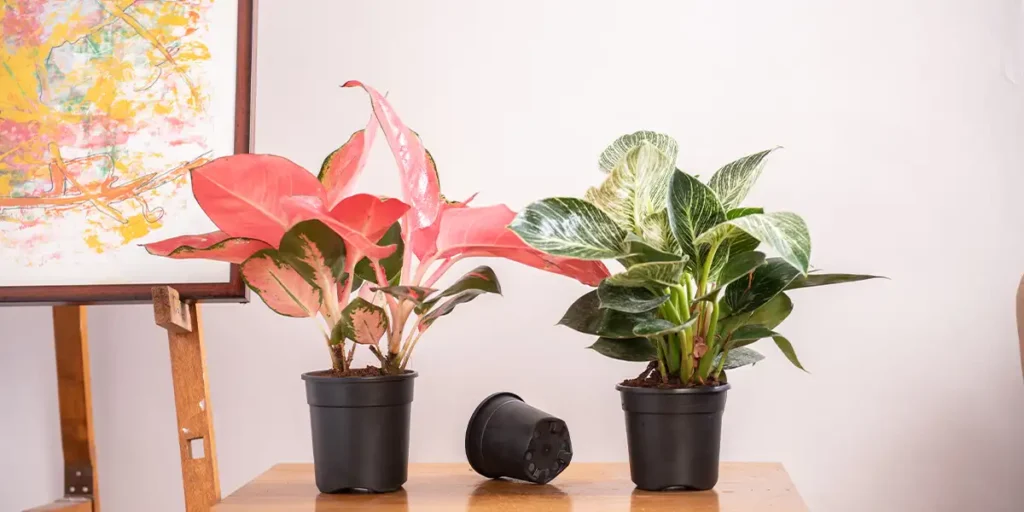
Keep your houseplant planted inside a cheap, plain plastic nursery pot that features excellent built-in drainage holes. Then, simply drop that entire plastic setup straight inside your fancy, hole-less decorative container. When it is time to perform your weekly plant care routine, lift the plastic inner pot out, take it to the sink to give it a deep watering, let it drain completely, and drop it right back into its beautiful decorative shell. Your apartment looks incredibly stylish, and your plant gets to live in a healthy, breathable environment. It’s an absolute win-win scenario.
Invest in Your Jungle’s Future
Upgrading your collection to the best pots for indoor plants with drainage holes is one of the most powerful steps you can take as a developing plant parent. It completely removes the guesswork from watering, eliminates the constant anxiety of root decay, and sets up a rock-solid foundation for long-term growth. When your root systems are healthy and breathing easily, the top foliage will naturally respond by pumping out massive, lush, and beautiful new leaves.
Whenever you need reliable, expert-led indoor gardening strategies, troubleshooting tips, or step-by-step guides, let LeafCare.xyz be your go-to resource for indoor plant parents looking to grow a thriving green space at home. We are here to walk with you through every single leaf pattern, repotting milestone, and care victory with complete clarity.
Are you currently dealing with any mystery yellow leaves or stagnant soil in your collection? Are you ready to audit your planters and make sure they all have proper drainage openings this weekend? Let us know your thoughts or drop your specific plant questions in the comments below! If you want to keep your indoor jungle thriving and stress-free, don’t forget to bookmark this page and subscribe to our weekly newsletter for fresh, actionable indoor gardening tips delivered straight to your inbox.
