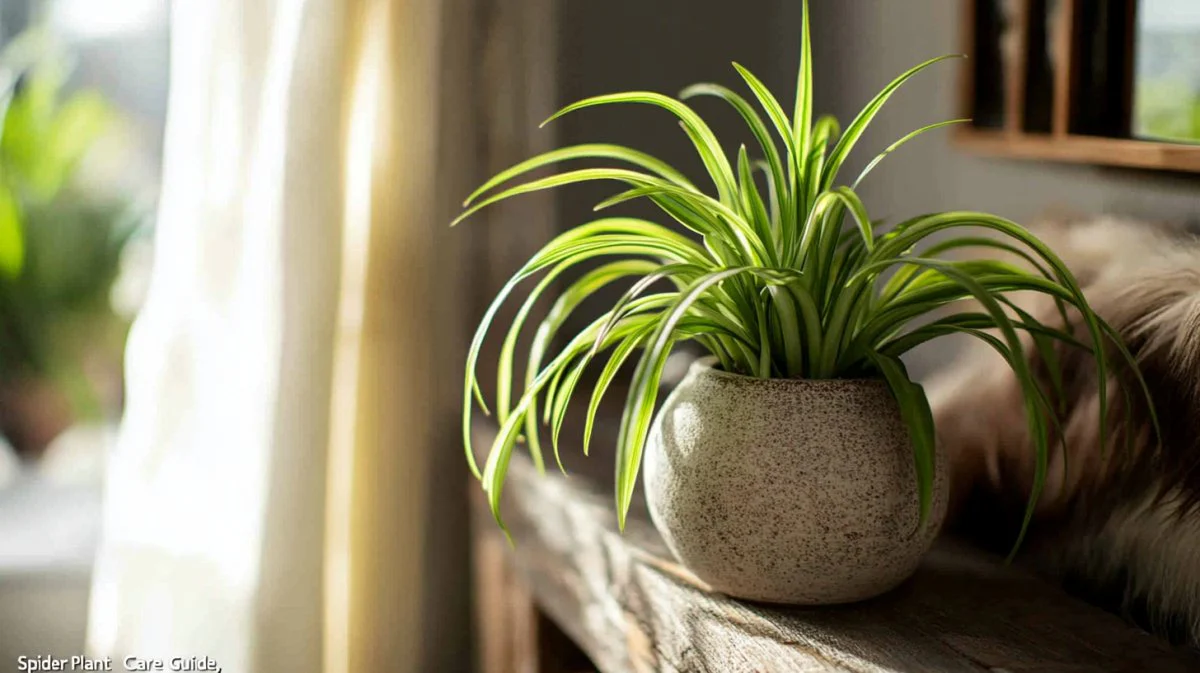
Master our best spider plant care tips indoors. Learn how to fix crispy brown tips, manage lighting, and grow tons of healthy plantlets!
Spider Plant Care Tips Indoors: The Ultimate Guide to a Thriving Ribbon Plant
You brought home a spider plant because you wanted those retro, cascading, jungle-style vibes in your apartment. Maybe you saw one hanging in a macrame hanger on TikTok, or your friend gifted you a tiny little baby cutting from their own massive plant. They look incredibly cool with their exploding, fountain-like variegated leaves and those cute little “spiderettes” dangling down on long stems.
But then, a few weeks in, you start noticing the tips of those beautiful ribbon leaves turning an ugly, crunchy brown. Or maybe your plant has stopped pushing out those adorable babies altogether, and it’s just sitting there looking kind of pale and sad.
Look, I get it, plant care can be frustrating but spider plants are actually some of the most forgiving, tough-as-nails green companions you can own. Here is the real talk: you don’t need to be a seasoned botanist to turn your sad ribbon plant into a thriving, baby-producing machine. You just need to dial in a few basic elements of their environment.
As a senior indoor gardening expert here at LeafCare.xyz, I have grown, split, and propagated hundreds of these classic houseplants. Today, we are breaking down the absolute best spider plant care tips indoors so you can troubleshoot your plant, get rid of those crispy tips, and watch your indoor jungle expand.

Spider Plant Indoor Care: The Quick Summary Dashboard
When your managing a spider plant in an indoor setting, it pays to know what a healthy balance looks like. Check out this quick dashboard to see exactly what your plant needs to thrive.
| Care Element | What It Wants | What It Absolutely Hates |
| Light Level | Bright, indirect sunlight (6-8 hours daily) | Hot, intense direct sun or pitch-black corners |
| Watering Routine | Water thoroughly when the top 50% of soil is dry | Wet, soggy feet or heavy stagnant mud |
| H2O Quality | Filtered water, distilled water, or rainwater | Heavy tap water loaded with chlorine and fluoride |
| Soil Mix | Light, loose, well-aerated potting mix | Dense, sticky garden soil that retains water for weeks |
| Temperature | 60°F to 80°F (15°C to 27°C) | Freezing winter drafts or blasting heat vents |
| Feeding Diet | Low-dose fertilisar monthly in spring/summer | Heavy, constant feeding that overloads the roots |
The Science of the Spider Plant: Understanding Those Thick Roots
To truly master spider plant care tips indoors, you have to look beneath the surface. If you’ve ever repotted a mature spider plant, your probably familiar with its wild root system. Instead of tiny, fine hair roots, spider plants produce massive, thick, white tuberous roots that look almost like mini fingers or fat translucent worms.
These tubers are the secret to the spider plant’s resilience. They act as heavy-duty underground water tanks. In their native habitats of Southern and Western Africa, these plants deal with unpredictable rainfall. Their roots store massive amounts of water and nutrients so the plant can survive weeks of drought without breaking a sweat.
Knowing this completely changes how you look at watering. Because they have built-in water storage, they don’t want to sit in a pot of soggy mud. If the soil stays wet for too long, those thick, fleshy tubers will absorb too much water, suffocate, and rot away.
The Mystery of the Crispy Brown Tips (And How to Fix It)
Ask any indoor plant parent what their biggest struggle is with this plant, and 100% of them will say “brown tips.” It’s an incredibly common cosmetic issue, and while it rarely kills the plant, it definitely ruins that pristine, aesthetic look.
There are two primary reasons why your spider plant develops these crispy tips indoors:
1. Chemical Sensitivity to Tap Water
Just like peace lilies, spider plants are incredibly sensitive to the fluoride, chlorine, and soluble salts found in standard municipal tap water. Because the plant cannot break down these chemicals, it pumps them all the way out to the very tips of its long, narrow leaves to get them away from its vital core. Over time, these minerals build up at the tip, burning the leaf tissue and turning it brown and crunchy.
2. Inconsistent Soil Moisture
While spider plants have those awesome water-storing tubers, they still appreciate consistency. If you let the soil dry out until it’s bone-dry and hard as a rock, and then suddenly drown it in water, the extreme shock causes the cell walls in the leaf tips to burst and dry out.
Step-by-Step Guide to Potting, Watering, and Propagating Your Spider Plant
If your trying to establish a reliable, stress-free routine for your plant, you need to execute the basics perfectly. Follow this detailed step-by-step proccess to ensure your spider plant stays healthy, vibrant, and ready to produce babies.
Step 1: Pick a Container that Accommodates Fast Growth
Spider plants grow incredibly fast, and those thick roots will easily crack a cheap plastic pot or push the soil right up out of the top of the container when they get root-bound. Choose a sturdy ceramic, terra cotta, or heavy-duty plastic pot that is 1-2 inches larger than the current root system. Make sure it has excellent drainage holes at the base.
Step 2: Mix an Airy, Fast-Draining Soil Recipe
Because those tuberous roots hold water, your soil mix needs to let go of water quickly. Never use cheap, dense garden dirt. Instead, assemble a beautifully aerated blend:
- 60% High-quality indoor potting soil
- 20% Perlite (for drainage and aeration)
- 20% Orchid bark or coco coir (for texture and root breathing room)
Step 3: Implement the “Check, Drench, and Drain” Method
Before you water, lift the pot or poke your finger deep into the soil. If the top half of the soil feels completely dry and the pot feels lightweight, it’s time to water. Take the plant to the sink and pour water evenly over the soil until it runs freely out of the drainage holes. For the ultimate results, switch to filtered water, distilled water, or let your tap water sit out in an open container for 24 hours so the chlorine can escape.
Step 4: Propagate the Spiderettes
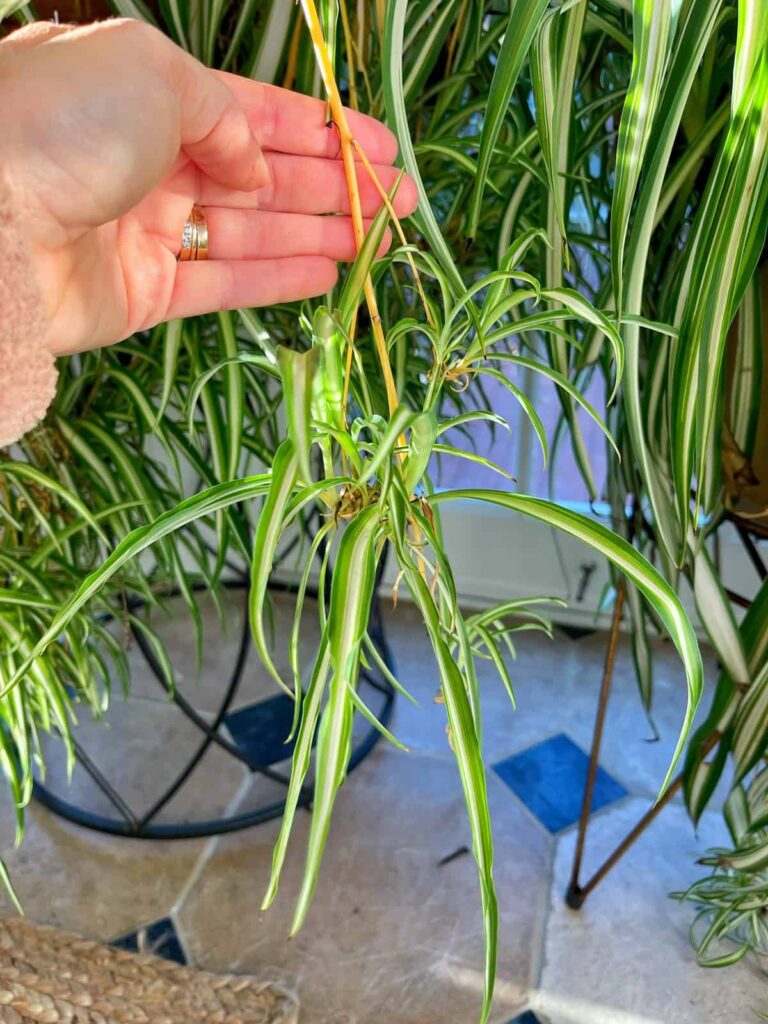
Once your spider plant is mature and receiving enough bright, indirect light, it will send out long, yellowish runners with tiny white flowers that eventually turn into mini spider plants. When these babies develop little brown root nubs at their base, you can snip them off with clean scissors and place them directly into a small jar of water or a tiny pot of damp soil. Within two weeks, you’ll have a brand-new, independent plant ready to gift to a friend!
Long-Term Maintenance and Lighting Strategies
Once your plant is established in the perfect pot, keeping it lush and full is all about maintaining a stable environment.
Getting the Light Just Right
Spider plants are often marketed as low-light tolerant, and they will survive in a dimmer room for a while. However, if your plant doesn’t get enough bright, indirect sunlight, it will lose its beautiful white striping, the leaves will become floppy and pale, and it won’t have the energy to produce any babies. Place it in a spot that gets plenty of ambient, filtered light. Avoid placing it directly in a window where intense, hot afternoon sun will literally bleach and burn the delicate foliage.
Feeding for Abundant Growth
Because spider plants are naturally vigorous growers, they enjoy a little bit of food during their active cycle. During the spring and summer months, mix a balanced liquid houseplant fertilisar diluted to half-strength into your watering can once a month. Avoid over-fertilizing, as too many chemical nutrients will cause fertilizer burn, leading to more brown leaf tips and weak, spindly growth.
Grooming Your Plant
If your plant already has a few brown tips, you don’t have to look at them forever. Take a pair of sharp scissors, sterilize them with rubbing alcohol, and trim the brown tips off. To keep the plant looking natural, trim at an angle to mimic the natural pointed shape of the leaf blade. Your plant will look instantly refreshed!
Grow Your Confidence and Your Jungle
At the end of the day, utilizing these spider plant care tips indoors isn’t about achieving absolute perfection. It’s about learning the simple rhythm of your specific space and building a trusting relationship with your plants. Don’t sweat a few brown tips here or there—your spider plant is incredibly resilient and will keep pushing out new, gorgeous growth as long as its roots are happy and dry.
Whenever you find yourself unsure about a watering issue, dealing with a sneaky pest, or trying to pick the right pot for a trailing vine, remember that LeafCare.xyz is your go-to resource for indoor plant parents looking to grow a thriving green space at home. We are always here to break down the science into easy, actionable, and judgment-free advice.
If this care guide helped you get a handle on your ribbon plant, make sure to bookmark LeafCare.xyz so you can reference our quick-care dashboards whenever you do your weekly plant rounds. Want a regular delivery of practical plant care tips, propagation hacks, and styling ideas straight to your inbox? Subscribe to our newsletter today! Still trying to figure out if your spider plant is drooping from too much light or a watering issue? Drop a comment below with your room setup details, and let’s figure it out together!
