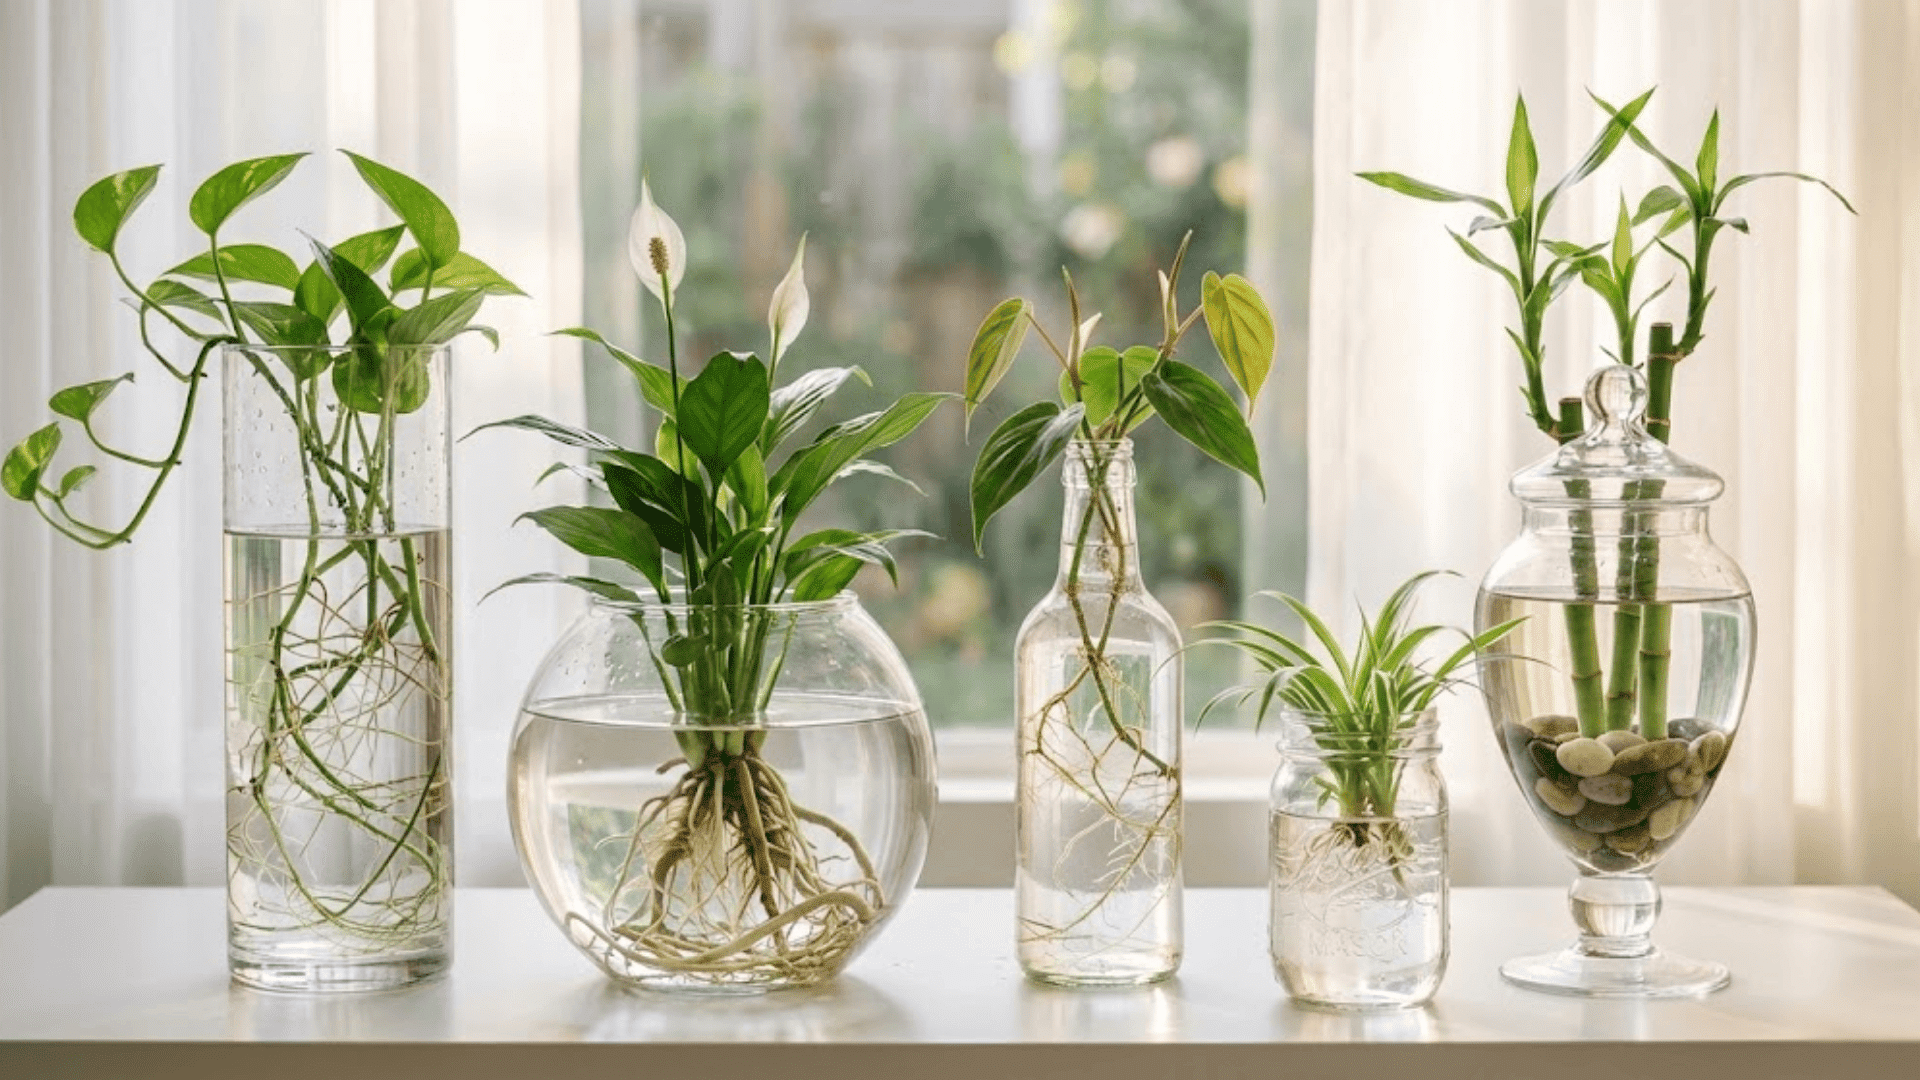
Want free houseplants? Learn how to propagate indoor plants in water for beginners with our foolproof, step-by-step water propagation guide.
How to Propagate Indoor Plants in Water for Beginners: The Ultimate Guide to Free Plants
Look, I get it, plant care can be frustrating but nothing matches the absolute magic of watching a brand-new root sprout from a tiny stem cutting. If you have ever stared at your trailing pothos or overgrown heartleaf philodendron and wondered how to turn that single plant into an entire army of green roommates, you are in the right place.
Propagating is essentially the ultimate houseplant hack. It is the art of cloning your existing green collection to create entirely new, independent plants. While there are plenty of complicated methods involving rooting powders, heat mats, and specialized soil mixtures, water propagation remains the absolute easiest, most visually satisfying way to get started.
Here at LeafCare.xyz, we believe that multiplying your collection should be fun, accessible, and entirely stress-free. In this comprehensive masterclass, we are breaking down exactly how to propagate indoor plants in water for beginners so you can confidently expand your indoor jungle without spending a single dime.

Why Water Propagation is the Perfect Starting Point
If you are new to the plant parent lifestyle, starting your multiplication journey in a simple jar of water is the absolute best route to take. Here is the real talk: soil propagation can feel like a guessing game. When you stick a fresh cutting straight into dirt, you cannot see what is happening underneath the surface. Is it growing roots? Is it rotting? Who knows!
Water propagation eliminates all that anxiety. Because you are using clear glass containers, you get a front-row seat to the entire biological proccess. You can watch the microscopic root cells expand, monitor the water clarity, and intercept any issues before they destroy your cutting. Plus, let’s be real—a shelf lined with glass vials and green cuttings looks incredibly aesthetic in your bedroom.
Best Indoor Plants for Water Propagation
Not all plants are built the same when it comes to root development. Some varieties sprout roots in water within days, while others will simply sit there and turn to mush. As a beginner, you want to pick high-success, low-maintenance varieties to build your confidence.
Below is a breakdown of the easiest indoor plants to propagate in water, along with what you can expect during the rooting phase.
| Plant Name | Difficulty Level | Estimated Rooting Time | Expected Success Rate |
| Pothos (Epipremnum aureum) | Absolute Beginner | 7 to 14 days | Extremely High |
| Heartleaf Philodendron | Beginner | 10 to 14 days | High |
| Tradescantia (Inch Plant) | Beginner | 3 to 7 days | Extremely High |
| Monstera Deliciosa | Advanced Beginner | 3 to 4 weeks | High |
| Coleus | Beginner | 5 to 10 days | High |
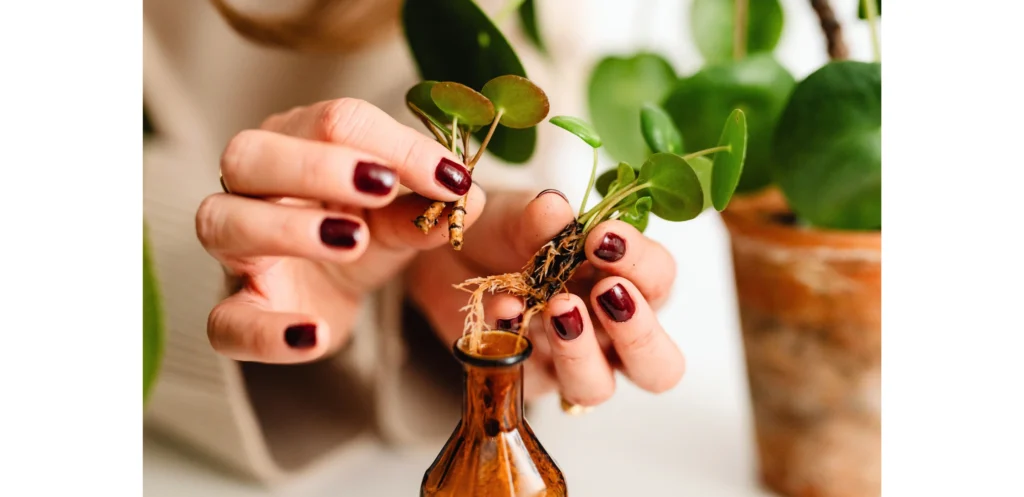
Understanding Plant Anatomy: The Power of the Node
Before you grab a pair of scissors and start hacking away at your favorite trailing vine, we need to cover one crucial piece of botanical knowledge. You cannot just cut a random leaf off a plant, put it in water, and expect it to grow into a new plant. To successfully learn how to prevent failures and understand how to propagate indoor plants in water for beginners, you must locate the node.
A node is a raised, slightly swollen bump on a plant stem where leaves, aerial roots, and new branches grow out from. This specific zone contains a high concentration of undifferentiated cells, which are essentially plant stem cells. When exposed to constant moisture and light, these cells switch jobs and start rapidly developing into brand-new roots. If your cutting doesn’t include a node, it will never grow roots, no matter how long it sits in your jar.
Step-by-Step Guide: How to Propagate Indoor Plants in Water for Beginners
Now that you know what to look for, let’s walk through the actual physical process of taking a cutting and setting it up for long-term rooting success.
Step 1: Prep and Sanitize Your Tools
Do not skip this step! Your fresh cutting is essentially an open wound, and introducing bacteria from dirty household scissors can cause the stem to rot immediately. Wipe down your pruners, scissors, or razor blade with rubbing alcohol before you make a single snip. Gather your glass vessels—clean spice jars, pasta sauce jars, or propagation test tubes work beautifully.
Step 2: Locate and Cut Below the Node
Find a healthy, vigorous vine or stem on your donor plant. Look for a section that has at least 3 to 4 healthy leaves. Locate a clear node, then make a clean, swift cut roughly a half-inch below that node. Try to cut at a 45-degree angle, which maximizes the surface area available for water absorption and future root growth.
Step 3: Strip the Lower Leaves
Take a look at your new cutting. Any leaves that sit too low on the stem will end up completely submerged in the water container. Leaves left underwater will quickly decay, rot, and pollute the liquid with harmful bacteria. Gently snip or pinch off the bottom one or two leaves, ensuring that only bare stem and nodes will be sitting below the waterline.
Step 4: Place the Cutting in Clean Water
Fill your glass jar with room-temperature tap water. If your water is heavily chlorinated, let it sit out open on the counter for a few hours beforehand to allow the chemicals to dissipate. Gently drop your stem cutting into the jar. Make sure the bare nodes are fully submerged, but keep your remaining top leaves resting safely above the rim of the container.
Step 5: Position in Bright, Indirect Light
Place your propagation station in a spot that receives plenty of bright, indirect sunlight. Think of a location near a north or east-facing window. Avoid placing vulnerable cuttings in harsh, direct midday sun, as this will overheat the water, cook the delicate tissue, and trigger a massive outbreak of green algae inside your jar.
Step 6: Maintain and Wait for Root Growth
Patience is key here, but you do have some basic maintenance tasks. Change out the water completely once every 5 to 7 days to keep it fresh and highly oxygenated. If you notice the water level dropping due to evaporation, simply top it up with fresh water. Within a couple of weeks, you will see tiny white root nubs popping out from the submerged nodes.
The Big Transition: Moving Cuttings from Water to Soil
Once your cuttings have grown a beautiful, robust network of roots, it is time for their graduation day. But when exactly are they ready to move out of the water jar and into a permanent potting mix?
Here is the real talk: do not rush this phase, but do not wait too long either. A good rule of thumb is to wait until your primary roots are at least 2 to 3 inches long and have started developing their own tiny secondary roots. When your roots have roots, your cutting is fully prepared to handle life in a solid potting medium.
When you pack the roots into soil, remember that they have been living in a pure liquid environment. They are used to constant moisture, so the transition can be shocking to their system. To ease the stress, keep the new potting soil consistently damp for the first week or two after transplanting. Once the plant stabilizes and stops showing signs of wilting, you can gradually transition back to your normal household cleaning and plant watering schedule. Adding a very diluted, gentle fertilisar a month after transplanting will also give your new baby plant a fantastic boost of energy to kickstart its top growth.
Common Propagation Mistakes to Avoid
Even though learning how to propagate indoor plants in water for beginners is incredibly straightforward, it is easy to stumble on a few minor details. Keep an eye out for these classic pitfalls:
- Letting Algae Take Over: If your glass jar turns bright green, the algae is stealing oxygen away from your plant’s developing roots. Wash the jar thoroughly and refill it with fresh water.
- Ignoring Stem Rot: If the bottom of your cutting turns black, slimy, or mushy, rot has set in. Take the cutting out, trim away the rotted black section with sterilized scissors until you hit healthy green stem, and restart the process in fresh water.
- Using Too Many Leaves: If your cutting has 10 leaves on it, it will expend all its energy trying to keep those leaves alive instead of focusing on growing brand-new roots. Keep your cuttings small, manageable, and efficient.
Watch Your Collection Explode
Once you successfully propagate your very first pothos or philodendron vine, you will instantly realize how addicting this hobby can be. You will never look at an overgrown houseplant the same way again. Instead of a messy vine, you will see five new potential plants just waiting to be created. Propagation is a beautiful, circular journey that helps LeafCare.xyz readers connect deeper with nature inside their own homes.
For more reliable, expert-led indoor gardening strategies, troubleshooting tips, and step-by-step guides, make LeafCare.xyz your ultimate digital resource. We are here to support you through every single yellow leaf, root sprout, and repotting milestone.
Have you ever tried water propagation before? What variety are you planning to chop first after reading this guide? Let us know your experiences or drop your specific plant questions in the comments below! If you want to keep your indoor jungle thriving, make sure to bookmark this page and subscribe to our weekly newsletter for fresh, actionable indoor gardening tips delivered straight to your inbox.
