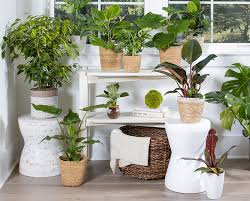
Master indoor plant care tips for beginners with our judgment-free guide. Learn how to keep your plants thriving without the stress!
Indoor Plant Care Tips for Beginners: The Ultimate Blueprint for a Thriving Jungle
You walked into the nursery, saw a gorgeous canopy of green, and thought, “Yes, this is the vibe I need for my apartment.” You brought your new green roommates home, set them up on your shelves, and felt like a certified interior designer. But a couple of weeks pass, and reality sets in. A leaf turns yellow. The stems start looking floppy. Suddenly, you find yourself panicking every time you pick up a watering can.
Look, I get it, plant care can be frustrating but you don’t need a hidden superpower or a PhD in botany to keep your plants happy. Here is the real talk: most people don’t have a “black thumb”—they just haven’t been given the right foundational instructions. Plants are living, breathing things, but they are also incredibly resilient and want to grow. You just need to learn how to read their signals.
As a senior indoor gardening expert here at LeafCare.xyz, I have grown, propagated, and occasionally resurrected thousands of plants. Today, we are stripping away the confusing botanical jargon and breaking down the most essential indoor plant care tips for beginners so you can stop stressing and start enjoying your home jungle.

Beginner Plant Care: The Core Foundations Dashboard
Before we dive into the daily mechanics, let’s look at the basic blueprints. If your currently standing over a sad-looking plant and need a quick sanity check, use this dashboard to see where your setup stands.
| Environmental Factor | The Ideal Vibe | Signs You are Missing the Mark |
| Lighting Setup | Bright, indirect sunlight (6-8 hours) | Leggy, stretching stems; fading leaf colors |
| Watering Routine | Water deeply, but only when soil is dry | Yellow leaves, mushy base (Overwatered); Crispy tips (Underwatered) |
| Container Choice | Always use a pot with proper drainage holes | Stagnant water pooling at the bottom leading to root rot |
| Soil Texture | Chunky, loose, breathable indoor mix | Heavy, dense dirt that stays soggy for weeks |
| Feeding Diet | Low-dose organic fertilisar in spring/summer | Fertilizer burn, crusty soil, stunted root development |
The Mindset Shift: Understanding the Three Core Elements
To truly master indoor plant care tips for beginners, you have to realize that you are building a small, indoor ecosystem. Your plants rely on you for three main things: light, water, and soil environment.
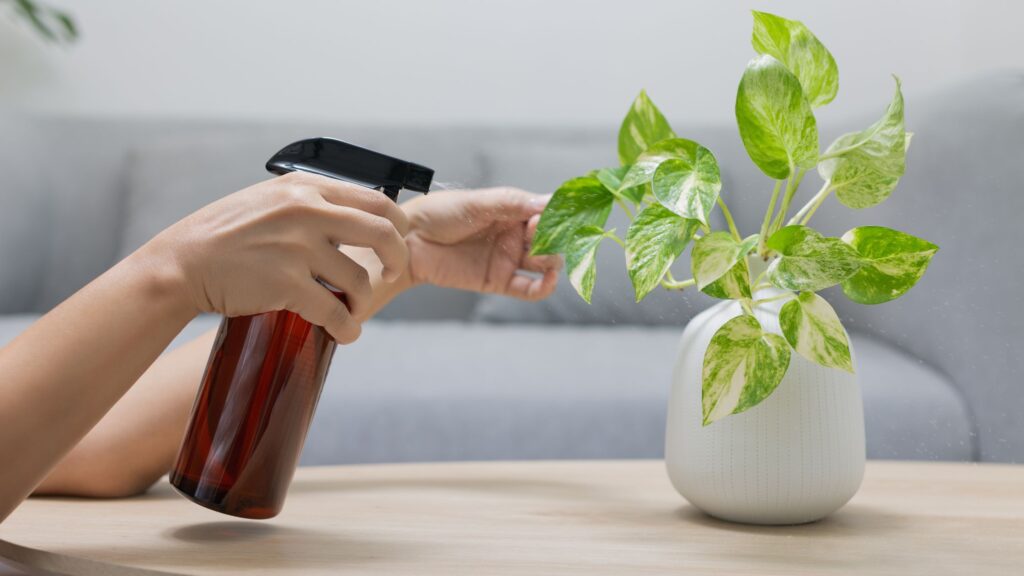
1. Light is Food, Not Just Decoration
The biggest mistake new plant parents make is placing a plant where it looks good, rather than where it can actually eat. To a plant, light is literally food.
- Bright, Indirect Light: This is the holy grail for most indoor houseplants (like monsteras, pothos, and philodendrons). It means the room should feel bright enough to read a book without a lamp, but the harsh rays of the sun shouldn’t directly strike the leaves and burn them.
- Low Light Tolerant: Plants like the ZZ plant or snake plant can handle dimmer spaces, but remember that low light simply means they will grow slower. No plant can survive in a pitch-black bathroom with zero windows.
2. The Great Overwatering Trap
More houseplants are killed by love than by neglect. Overwatering doesn’t mean giving your plant too much water at once; it means watering it too frequently without letting the soil breathe. When your soil stays constantly wet, the roots suffocate from a lack of oxygen, turn black, and rot away.
3. Soil and Drainage Are Non-Negotiable
If your plant is sitting in a gorgeous pot with no hole in the bottom, it is living on borrowed time. Drainage holes allow excess water to escape, ensuring the root system never sits in a stagnant swamp. Always match your pot with a lightweight, aerated soil mix packed with perlite or orchid bark to create healthy air pockets.
Step-by-Step Guide to Your New Plant Care Routine
Ready to build a stress-free habit that guarantees results? Follow this step-by-step proccess every time you interact with your green collection.
Step 1: The Finger Test (Checking Moisture)
Forget a rigid weekly schedule. Watering every single Sunday regardless of whether the soil needs it is a recipe for disaster. Instead, push your index finger into the soil up to your second knuckle. If it feels cool and damp, leave it alone. If it feels completely dry, dusty, and light, your ready to water.
Step 2: The “Drench and Drain” Watering Method
When it’s time to water, take your plant to the sink or shower. Pour room-temperature water evenly across the surface of the soil until it streams out of the bottom drainage holes. This ensures that every single root hair gets access to hydration. Let the pot drain completely for 15 minutes before placing it back on its decorative saucer. Never let your plant sit in standing water.
Step 3: Keep the Foliage Clean
In our homes, dust accumulates on leaves quickly. A thick layer of dust acts like a curtain, blocking out light and making it harder for the plant to breathe. Once a month, take a damp microfiber cloth and gently wipe down both sides of the leaves. It keeps them looking incredibly vibrant and allows them to photosynthesize at maximum efficiency.
Step 4: The Inspection and Grooming Routine
While your cleaning the leaves, do a quick visual check. Look underneath the leaves and where the stems meet the base for any signs of sneaky pests like spider mites or gnats. If you spot a lower leaf that has turned yellow from old age, take a clean pair of snips and cut it off at the base so the plant can redirect its energy into fresh, new growth.
Troubleshooting Common Beginner Mistakes
Even if you follow every rule, your going to encounter a few bumps along the road. Don’t panic—plants are highly communicative. Here is how to decode what they are trying to tell you.
Why are my plant’s leaves turning yellow?
If the lower, older leaves turn yellow one at a time, it’s just the natural life cycle of the plant. However, if multiple leaves turn yellow simultaneously and the soil feels mushy, your overwatering. Stop watering immediately and let the entire pot dry out completely.
Why are the leaf tips turning brown and crispy?
Crispy brown tips usually mean low humidity or water quality issues. Most modern apartments have dry air, especially when heaters or air conditioners are running. Consider grouping your plants together to create a localized humidity bubble, or place a small humidifier nearby to keep the fronds lush.
Why is my plant dropping leaves?
Sudden leaf drop is typically a sign of environmental shock. Did you recently move the plant to a fresh spot? Is it sitting in the path of a cold window draft or a hot heating vent? Find a stable, consistent location with gentle airflow and steady ambient light, and let it acclimatize.
Grow with Total Confidence
At the end of the day, utilizing these indoor plant care tips for beginners isn’t about achieving flawless perfection. It’s about building a simple, rewarding habit of observation and connecting with nature inside your home. Don’t let a single dead leaf make you feel like a failure—every experienced plant collector has a trail of casualties behind them. It’s all part of the learning curve.
Whenever you find yourself unsure about a strange spot on a leaf, trying to pick the right soil mix, or wondering if your lighting is right, remember that LeafCare.xyz is your go-to resource for indoor plant parents looking to grow a thriving green space at home. We are always here to break down the science into easy, actionable, and completely judgment-free advice.
If this foundational guide helped boost your plant parenting confidence, make sure to bookmark LeafCare.xyz so you can reference our care summaries whenever your expanding your green collection. Want a weekly delivery of practical plant hacks, easy propagation guides, and troubleshooting advice sent straight to your inbox? Subscribe to our newsletter today! Still trying to figure out if your new green roommate is thriving or struggling? Drop a comment below with your plant types and room details, and let’s figure it out together!
